
Using transfer learning with VGG19 to Classify Grapevines Leaves — Part 2

Hii!! If you didn’t read part 1, when we built the VGG19 model using transfer learning, I recommend you read it, but now we’ll deploy our model using streamlit cloud.
In this article, we are going to go through the steps you need to take to publish your first Streamlit app.
But first you need to follow: a Streamlit Cloud account and a Github repository for each app. After that you need to follow this four steps to publish a Streamlit app:
develop your app and test it locally
create a Github repository for the app
push the local app to Github
create a new app in Streamlit Cloud and connect it to the repo
There is a little setting up to do before all of that. It will work but once it is done publishing, updating is simple.
Streamlit Cloud
There are a few plans that you can sign up for. The one we want is the Starter plan. This is free and lets you publish an unlimited number of public Streamlit apps, and there is a private one as well.
So, go to the Streamlit Cloud web page and scroll down until you find the sign-up section. When I signed up, I had to do so with either my Google or Github account, which is fine by me, but I believe other signup options are in the pipeline. I signed up with Github and, of course, with Streamlit Cloud you need to access your Github repositories in order to access your apps.
Once you’ve sorted out your Streamlit Cloud account the rest is plain sailing.

Click on New App and you will be asked for the details of your app:
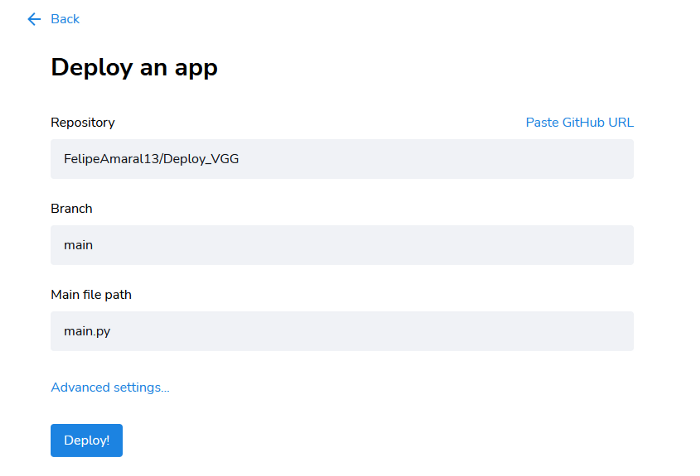
Type in the repository path and the name of the Streamlit app file and click Deploy (the Branch stays as ‘main’).
Streamlit now appears to be ‘baking’ your app:
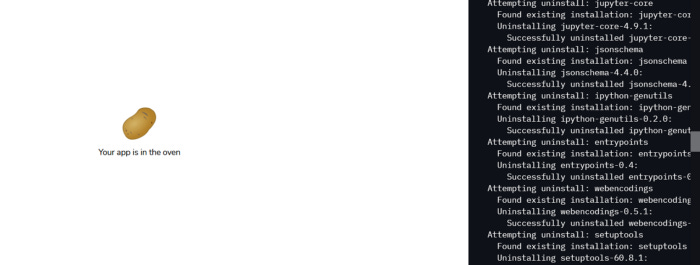
The panel on the right tells you what is actually going on, while the icon on the left cycles goes through a variety of foodstuffs (the one above is supposed to be a potato).
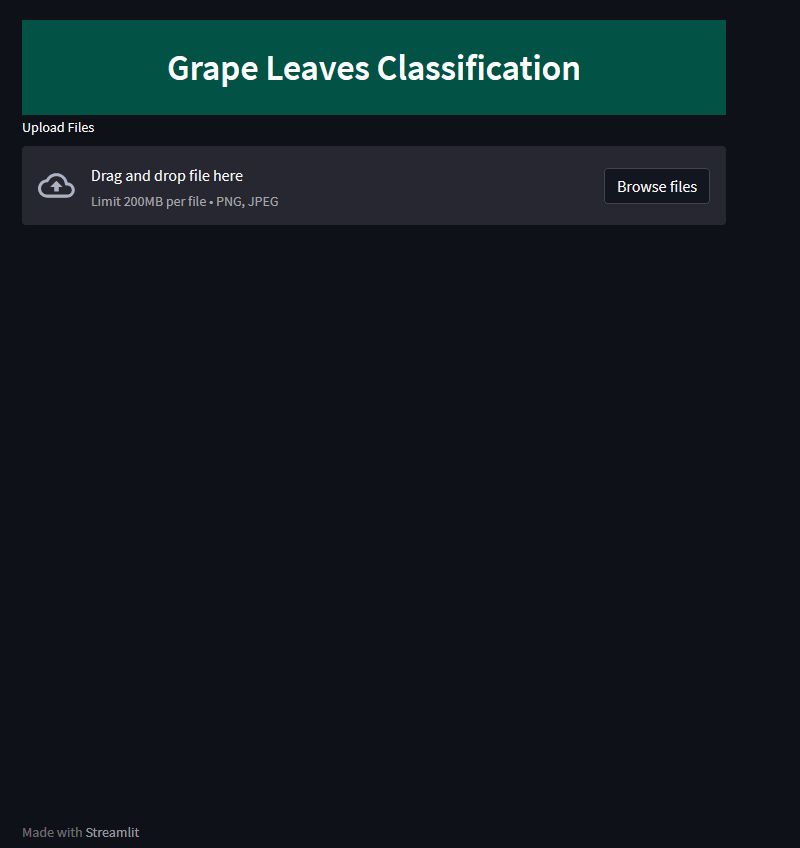
After a while you get a burst of cartoon balloons to celebrate the fact that you app is ready for consumption and it duly appears on the screen.
Simple? No? Is that all?……Eeerrrr….no, there’s more to do. We need to build three more files.
requirements.txt
packages.txt
dockerfile
So the requirements are the libraries we use to build our application (VGG19), in my case I used:
h5py
typing-extensions
wheel
streamlit
Keras
tensorflow
tqdm==4.64.0
matplotlib==3.3.4
scikit_learn== 1.1.1
seaborn==0.11.2
opencv-python-headless==4.5.4.60
numpy==1.21.6
pandas==1.3.5
protobuf==3.20.1
requests
Save this file. Nexxxtt!
Docker file, so, this file builds our S.O. to run our deploy. In this file we set our python version, the libraries we need to install (requirements.txt) and what port we’ll run it. Let’s go check our file.
FROM python:3.8RUN apt update
RUN apt-get install -y libglib2.0-0 libsm6 libxrender1 libxext6
RUN pip install --upgrade pipWORKDIR /app
COPY requirements.txt ./requirements.txt
RUN python3 -m pip install -r ./requirements.txtEXPOSE 8501COPY . .ENTRYPOINT ["streamlit", "run"]
CMD ["main.py"]
And finally, packages.txt! This file is responsible for the packages that our S.O. needs to run our app.
libglib2.0-0
libsm6
libxrender1
libxext6
freeglut3-dev
libgtk2.0-dev
libgl1-mesa-glx
So, if you put it all together, it will be enough for our app to run on the illuminated cloud.
Now, that is it. You can go through it with as many public apps as you like. The only real restraint is that if your app doesn’t receive much traffic, Streamlit puts it to sleep in order not to waste resources. When asleep the app is still available but it will have to go through the ‘baking’ process again before it runs. Streamlit will send you a friendly email telling you when they are going to do this and suggesting that, if you want to, you can simply visit your app to prevent it from dozing off. So guys, thanks for reading it. See you in the next post. Byee
References:
https://towardsdatascience.com/publish-your-streamlit-apps-in-the-cloud-3ac5a5fe3d51